You know how we all ask questions to little kids, like, "What's your favorite color?" or "What do you want to be when you grow up?" Well, kiddo was about 6 or 7 and a friend was asking him all of these questions....
She got to "What's your FAVORITE food?" I'm pretty sure he said Skittles. Next, she asked, "What do you think is the GROSSEST food?"
A horrified look crossed his face, he shivered a little, and said:
"Chicken....with the BONE in it."

Apparently, a kid in his class had a lot of leftover fried chicken in his lunchbox and our little sheltered kiddo had spent all his life (well, 6 years) eating boneless chicken breast.
So, that's our chicken story.
Kiddo aside, I think meat on the bone is definitely MAN FOOD. Not that I'm opposed to a giant turkey leg at the Renaissance Festival, but I sure don't feel ladylike eating it. ;)
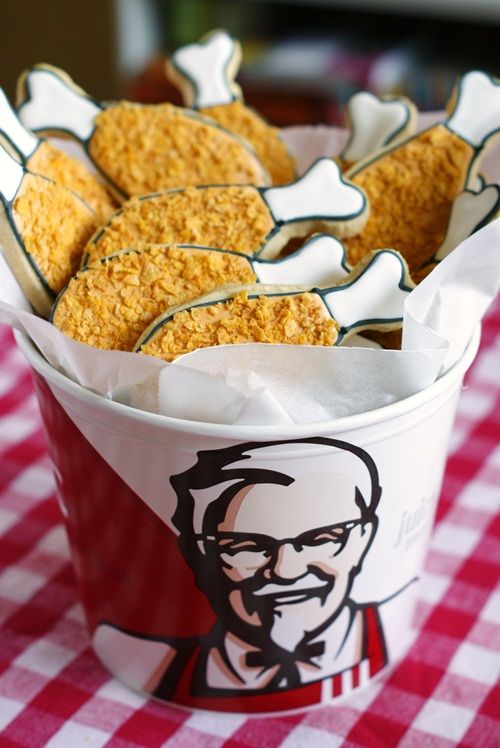
Maybe you'll want to make some fried chicken leg cookies for your man for Father's day. They're really simple...let me show you how.
Psst...this is the secret ingredient...

Here's what you'll need:
- chicken leg shaped cookies (I used a template)
- royal icing tinted with AmeriColor
Super Black, Gold mixed with Chocolate Brown, and Bright White
- disposable icing bags
- squeeze bottles
- #3 icing tip
- toothpicks
- small paintbrush
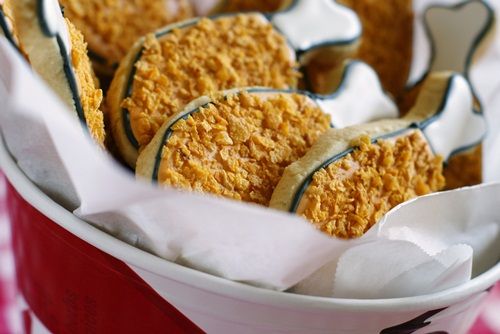
- cornflakes
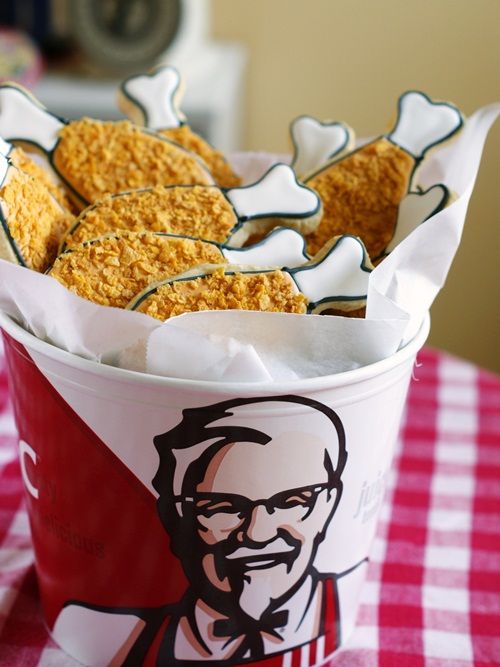
- and, optional, a KFC bucket :)

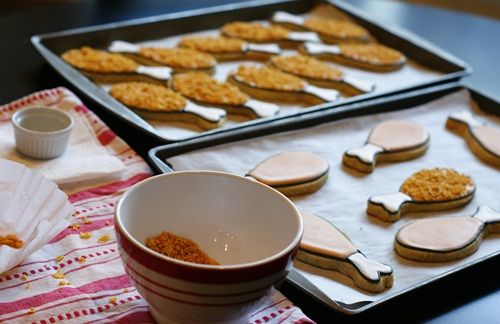
With a #3 tip, outline the chicken leg in black. I used a #3 tip because I really wanted the outline to show.
Thin the white & brown/gold icings (reserve a bit for later) with water, a little at a time, until it is the consistency of thick syrup. Cover with a damp dishtowel and let sit several minutes.
Stir gently with a rubber spatula to pop any large air bubbles that have formed. Transfer to squeeze bottles.

Flood the chicken leg with the thinned icings. Use a toothpick to guide into corners and edges and to pop and air bubbles.

Let sit overnight.

The next day, mix 1/2 teaspoon meringue powder with 1/2 teaspoon of water. With a small paintbrush, brush the mixture onto the "meat" part of the chicken. Sprinkle on crushed cornflakes. Press lightly to adhere.
Let dry for 15-30 minutes. Pop into a bucket from KFC...they'll sell you an empty for only 25 cents!
You know what would be really good with fried chicken cookies? Mashed potato cupcakes! ;)
{Oh! And speaking of meat on a stick, I'm in LOVE with these corndog cookies from Munchkin Munchies!}
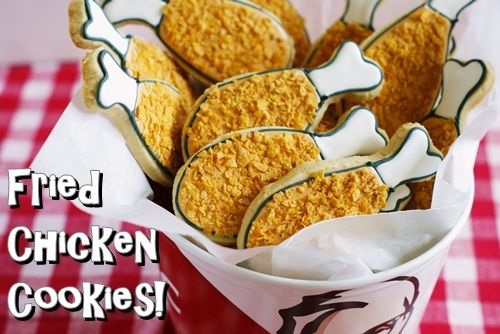
Make 'em for your favorite dude!